Showing posts with label green living. Show all posts

Tuesday, June 9, 2015

Cardboard Carton Birdhouses

Wow, I can't believe it's been so long since I've written a blog post. I've thought about it most nights but then I end up either falling asleep or watching something on TV instead. Actually, I rarely turn on my computer most nights. I can check my email and Facebook on my phone so that's all I really use nowadays.

However, that doesn't mean we've stopped doing crafts and projects. I have many to share so I'm going to try and be better about getting on here and sharing them with you.

This first one is a craft we made for Earth Day. I based ours off of an article I found in Kiwi Magazine.

We used recycled and found items to make these carton birdhouses. I love how they turned out!

The first step is to remove the spout using an Exacto Knife. This step should definitely be done by an adult!

I saved the caps to use as stamps for when we decorated them. I also used some additional recycled cardboard cut to size for the roof. It's probably best that an adult do that as well unless you have older children.

Here comes the fun part for the kiddos - Painting! You can decorate your birdhouse anyway you want. [E] used a little of every color we had while [A] painted his to look like the beach. [K] was busy painting the wooden heart you can see on the ground behind [E]'s birdhouse.

Once that had dried overnight we tried using the caps as stamps but they didn't work as well as I had envisioned. Oh well. Live and learn.

[A] did a coat of white before painting his and as you can see that covered the words on the carton way better than little [E]'s. The next step is to make a hole for the birds. I traced a K Cup but you can use any similarly sized circular item.

To add the finishing touches I hot glued the roofs to the birdhouses. (That's best done by an adult as well.) I used binder clips on the top to help hold it in place while the glue dried. It also really helped to pre-score the cardboard around the bends of the carton to make neater folds. I also glued rick rack around the opening and sliced a small slit for a craft stick perch. Lastly, poke a small hole on the top through all of the layers to thread bakers twine or other string for hanging.

Have your kids (or yourself; it's a fun craft for adults too.) spread peanut butter on both sides of the roof.

Then sprinkle bird seed all over the peanut butter. This is fairly messy so it's best done outside or over a cake pan to catch the ones that don't stick. Press the seed down lightly so it sticks.

Great job, Girls!

Find a suitable tree and hang your works of art for all the fine feathered friends in your neighborhood.


I love making crafts from recycled goods. If you've made any others that you really enjoyed, please share them with me in the comments.

Thursday, February 26, 2015

40 Bags in 40 Days

A girlfriend of mine recently posted a link on Facebook about something called 40 Bags In 40 Days 2015 Decluttering Challenge. What is 40 Bags in 40 Days? According to the website it's, "...a forty day period in the spring (coinciding with the 40 days of Lent) where you declutter one area a day. The goal is one bag a day but you can have more or less."

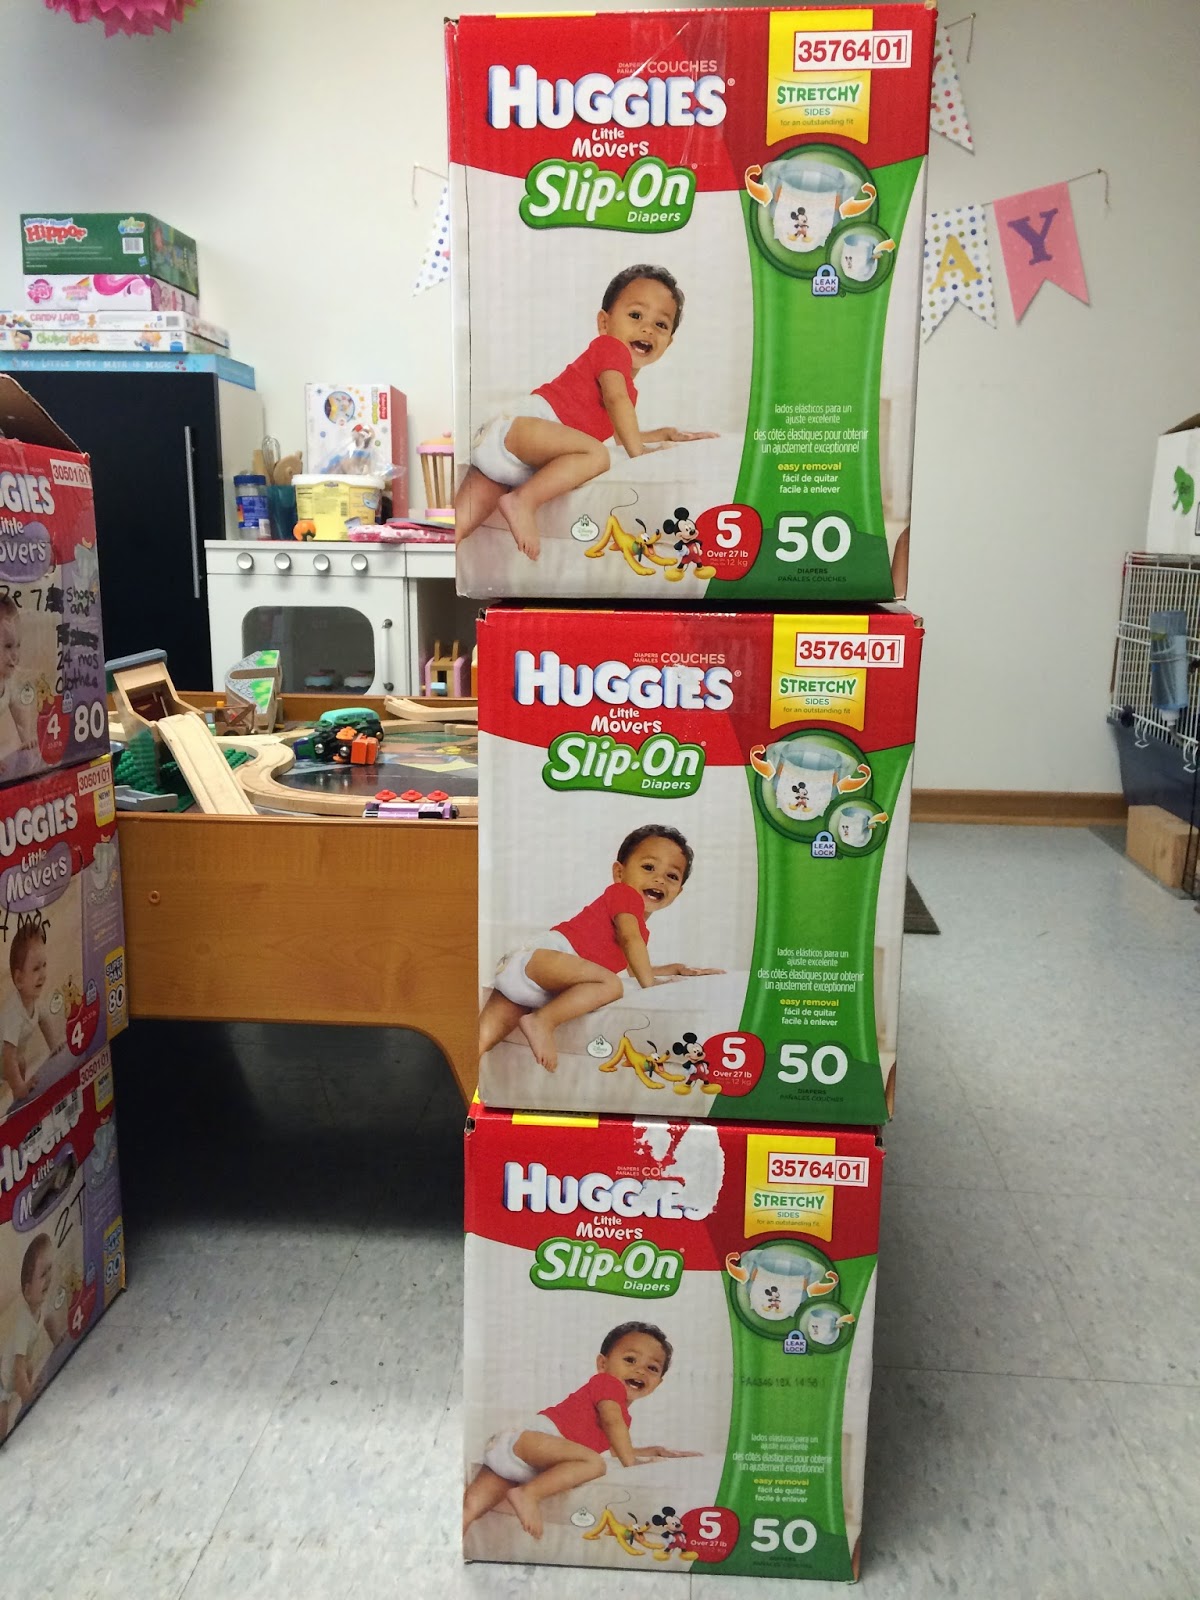
Baby boy clothing and toys (and yes, I know I have two girls
so why do I have three boxes full of boy stuff?)

24 month and 2T size girl clothing for the other sweet baby girls in our lives

Everything from newborn up to 18 months I haven't already given to friends.

Big box of larger baby toys our girls no longer play with
and a ride-on car we got for free from a Craigs List purchase

This awesome piano we borrowed from friends whom I'm
hoping know of other kiddos who can get further use out of it

Two huge bags full of stuffed animals that K is actually allowing
me to donate to S.A.F.E. (Stuffed Animals for Emergencies)

A small animal carrier and our original bunny habitat

And last, our crib which makes me very sad. (I'll explain why below.)

So here's the cool part about this whole project, at least for me. If you know me in person you'll know that I can't stand to throw stuff away (unless I deem it as junk and then I have no problem whatsoever.) However, I feel super guilty contributing to the landfills so usually I try to recycle or donate as much as I can. Recently, while I was trying to find someplace to bring our stuffed animals because most places won't take them, I came across these two links from Oprah on all of the different places you can donate almost anything. (This one is by location, and this one is to mail stuff.) The only thing I can't donate is the crib which is why it makes me sad. It was a beautiful hand-me-down from A's nieces but it's a drop-down side and no one will take those anymore. And although I've seen things on Pinterest on how to turn it into a desk or a child sofa, we just don't have the space for it.

So, I'm putting the challenge out to all of you. I don't know if I'll end up with 40 bags full or not, but at least try for one. If you can declutter one room or one bag full and donate it to someone else in need, that's a great start. Think of how much good we can do if everyone just did one bag.

Good luck and I'll see you on the flip side!

Monday, February 3, 2014

Recycled Craft: Toilet Paper Roll Owls

Howdy folks! This past weekend we celebrated E's 2nd birthday with an owl-themed party ("Who-who is turning 2?") and for the table centerpieces I crafted these cute owls out of toilet paper rolls. I combined ideas from two different blog sites, sassydealz.com (which seems to be down at the moment) and a free eye/beak printable from u-createcrafts.com.Here is how I made them:


Supplies: Two sheets of colored construction paper and one sheet of orange, one page of printed eye/beak combos, one inch hole punch, one inch heart punch, empty toilet paper roll, scissors, glue, pencil.


Step 1. Bend down a small section from the front and the back of the toilet paper roll to form the ear tufts.


Step 2. Punch 18-20 circles from one color of the construction paper. These will serve as the feathers on your owl. Glue two rows of circles to the middle of your toilet paper roll. I overlapped each circle as well as the two rows. (Conversely, I got to thinking after I made 12 of these (with some help from my mom) that using circular labels like these would have made this step go much faster. The only thing I like about using glued on circles is that the edges didn't stay flat and that gave the circles more of a feather-y look as opposed to using the circles which I assume would all stay down flat. I guess it just depends on the look you are going for and the amount of time you want to invest.)


Step 3. Cut out the eyes/beak combo and glue that onto the front of your toilet paper roll, overlapping the top row of circles just a bit. I only applied glue to the center of the eyes and the whole beak so that the sides of the eyes would stick out past the sides of the toilet paper roll.


Step 4. Free-hand draw four elongated hearts out of your other colored sheet of construction paper. These will serve as the wings. Glue two hearts together per wing.


Step 5. Glue the wings on the sides of your owl.


Step 6. Punch out one small heart from the orange construction paper for the feet. Fold the point side up and apply glue to that part and stick it to the bottom of the front of your owl.


And there you have it, a cute owl all made from recycled and recyclable materials!

The fun thing about these is that they can be made with any type or color paper so if you have small amounts of scrap book paper that you need to use up, these are perfect for that. Also, they would be cute for fall / Halloween decorations or I've even seen them without the feet and the bottom end pinched closed like the top and used as a small treat or gift card holder.

Take care,
J :)

Tuesday, November 12, 2013

Blowin' up the SOAP!

Hello! I can't believe November is almost half over. Where has the time gone?!? It always seems like once Halloween hits the rest of the year is a blur of holidays, parties, and events. I hope this year I can step back and relax and really just enjoy myself and the time with my family. I'm almost done with all of my Christmas shopping and let me say, it feels GREAT! I've never done my shopping so early but I thought if I get it out of the way now I'll have more time for baking cookies, sledding, building snowmen, you know... the important stuff.

Back in September I shared my "recipe" for making homemade laundry soap. My cousin mentioned on Facebook that she uses the same recipe but instead of grating her Ivory soap, she microwaves it and then just squeezes it. Huh??? I checked online and sure enough, using Ivory only (other soaps just melt) you can microwave it for about a minute and a half and it puffs up into a giant cloud of soap that you can then break apart into tiny flakes with your hands or a food processor. I used my hands because I was worried the food processor would melt it into bigger chunks.

Normal bar of Ivory soap on a piece of wax paper in the microwave. If you have the option to turn the turntable off, I'd recommend it. I didn't and I think my soap could have gotten bigger if it didn't end up stuck in the corner due to the turntable spinning.

Here it is all puffed up into a soap cloud. It feels a lot like just slightly stale cotton candy.

And here it is all squished into flakes and in my container waiting for the other ingredients.

Pretty cool! K thought it was really neat too. I have to say that while it is a lot easier than grating, I'm able to get a more fine texture than with the microwaving. I have more chunks in this batch than usual although thankfully they are easily dissolved in the washing machine.

Here's a link to a video of this because it's oddly fascinating to watch.

Until next time,
J

Sunday, September 1, 2013

Make your own Laundry Soap

Quite some time ago I ran across this blog post about making my own laundry soap and I've never looked back since! K has very sensitive skin and over the years we've taken her to the doctor for "contact dermatitis" which is basically a rash caused by something she came in contact with. And, while it never seemed like it was the detergent we were using was causing it, I couldn't rule it out 100%. Now I have to be honest here, this also came about for two other reasons. 1. I love saving money and I've often heard that buying detergent is the the equivalent of the most expensive bottle of water since so much of it is just that, water. But reason number 2 is that I'm a bit of a hippie (or green living fan, if you will). I like knowing that I'm using things that are at their purest and simplest form and that there aren't any crazy chemicals in our stuff if I can avoid it. Plus it's super simple to make and only takes three ingredients.

Borax, bar soap, and washing soda (NOT baking soda)
We've only used Ivory bar soap so far because it's what we had lying around the house but I recently realized that it's made by P&G so I purchased some Dial Basics HypoAllergenic so I'll be using that in our next few loads so hopefully it works out well. Other people have used Fels-Naptha, Zote or Dove bars so just find what you like or have lying around and use that.
The recipe for this soap is very easy to remember - one cup Borax, one cup Washing Soda, one grated bar of soap. You can easily double or even triple the amounts but just keep it a one to one to one ratio.

We use a microplane to grate our soap because it gives you the finest pieces to more uniformly blend with the other ingredients. This last batch I made I tried to take a short cut by grinding the soap in the food processor and I'm guessing that because the Ivory is such a soft soap that's the reason it ended up basically remelting back into a solid at the bottom of the processor. Maybe if we used a harder soap like Fels-Naptha it would have been fine but I guess the old expression about if it ain't broke, don't fix it, applies here. (Update: I just made a batch with the Dial Basics and was able to grind it in the food processor just fine.) Mix your three ingredients and you're done.

The great thing about making your own laundry soap is you only need to use a tablespoon of it per normal size load so it lasts a long time. Plus, each batch does approximately 40+ loads so that comes out to about $.05 a load (way cheaper than store-bought soap).

The only thing I miss with using this laundry soap over a kind I buy in the store is the smell. Your clothes will come out just as clean as the name brand, store bought stuff but there is no scent, just the smell of, well, clean clothes I guess. Also, we use dryer balls instead of dryer sheets so there's no chance of a lingering fake fresh scent on our clothes. And actually, now that I'm used to it, it seems so foreign to me now to have clothes that I washed on our vacation still smelling of Tide (not that I don't love and miss that scent every now and then.)

Monday, August 5, 2013

Shower Like You Mean It

As I was standing in the shower this evening, it occured to me that my showering routine has changed significantly over the years, but specifically after having kids. I've never been one to stand under the running water for an extended period of time. Call it an aversion to being wet or probably just my inner hippie thinking about all that wasted water just pouring down the drain, but over time I've developed a quick, chock-full shower routine that works for me. And hey, maybe it can work for you too.

First off, I shower at night. Now that right there might be off-putting to some (many?) people. I used to shower in the morning but two things changed this: K & E. My girls LOVE to play in any form of water they can get into to. Whenever I'd start the water my girls would come running into the bathroom, K already stripping her clothes off in order to get in the shower with me. Now don't get me wrong, the first few times this happened I thought it was adorable. I love my girls to pieces but sometimes I just want those 10 minutes to myself. Holding a slippery baby in your arms while to trying to shave just isn't going to happen. So now I shower at night when they're both in bed. This also ensures that I DO actually shower because E doesn't always sleep through the night and between getting up with her (several times a night lately since she's sick) and sometimes going to bed too late, I'm tired in the morning and I don't want to get up before the kids to shower because that would mean I'd be up at like 5:30 and I'm not a morning person. Also, I kind of feel refreshed and I like feeling like I'm going to bed clean. I've cleaned off the "grime" of the day and I'm starting fresh for a new day.

Ok, now if you're still with me, on to my showering routine. I combine a few nightly tasks during my shower to A) conserve water, and B) conserve time.

Step 1. Turn on the water, grab my toothbrush and toothpaste, and brush my teeth in the shower while waiting for the water to reach it's peak temperature. Since the water has to run anyway to get warm, I'd rather brush my teeth in there and actually use that water instead of just letting it go down the drain and then also using the water in the sink to brush. Besides, while spitting is one of my highest pet peeves, spitting while standing up in the shower is kind of cool. I know it sounds weird but just try it some time. You might giggle. I also get myself wet during this step.

Step 2. Wash and rinse your hair.

Step 3. Now that you don't have to worry about soap getting in your eyes, wash your face. I keep my facial cleanser in the shower to again, save water and time. I don't wear makeup on a daily, who am I kidding, monthly basis so I don't use a makeup remover or anything. Two squirts of Cetaphil Gentle Cleanser and I'm a happy girl.

Step 4. Apply conditioner.

Step 5. While the conditioner is making your hair soft and magical, soap up your body. This is also when I shave (also once a month. Ok, I'm kidding, kind of.)

Step 6. Rinse your body and hair at the same time and your done.

Seriously, it takes like 10 - 15 minutes and I'm done with the majority of my nightly routine. When I get out of the shower I put on a facial lotion, then a body lotion, run a wide-tooth comb through my hair to get any loose hairs out, wash the lotion off my hands, apply a spray-on gel, scrunch my hair with a towel (that way my hands don't get all sticky) and I'm off to bed.

I realize as with all personal hygiene choices, it's very, well, personal. However, I hope maybe by reading what I do, you might think of ways you can conserve water and help streamline your routine to give yourself a few extra minutes each day to do something for yourself. Because we all know that women in particular do so much for others that we rarely take the time to do something for ourselves.

Happy showering and good night!